Beauty Sponge Application Tips For Beginners
Everyone you know is using a beauty blender, but you’re late to the party. It’s okay. Change is hard, and if you’ve been using a makeup brush or a foam wedge, a cylindrical sponge can seem difficult to master.
Don’t worry. The professional team at RMS Beauty has you covered. We waited to release our signature skin2skin beauty sponge until we knew it was perfect. Now that it’s available, we’ve got all the tips and tricks you need to master application techniques.
Grab your favorite blending sponge and the product of your choice and get ready to learn how to master your makeup application with real techniques straight from the makeup artists who know best.
What Can A Makeup Sponge Do?
Of all applicators, the makeup sponge might be one of the most versatile tools in your arsenal. It’s long-lasting, easy to care for, and works for numerous different products. It’s also a great option for people who are uncomfortable using their fingers to apply their product.
Makeup sponges aren’t just for liquid makeup, either. They can work for tinted moisturizers, cream blush, powder, and even help smudge eyeliner for the perfect smokey eye. We especially love them for applying primer, foundation, and concealer.
Primer
If you’ve been waiting for a clean, non-toxic primer that actually works, your wait is over. RMS Beauty’s “Re” Evolve Radiance Locking Primer is formulated with Tightenyl™, our exclusive skin-firming complex made from natural, fruit and vegetable-based ingredients.
Our primer comes in gel form, which makes it a perfect candidate for using with your makeup sponge. Although we usually recommend applying primer with your fingertips, a sponge can give you better accessibility in small, hard-to-reach areas.
Foundation
Foundation that is liquid or cream-based is the best for use with a beauty sponge, though you can use our skin2skin beauty sponge for powder, too, if your heart desires it. Traditionally difficult to apply, liquid foundation lines and streaks are distant memories once you master how to correctly use a cosmetic sponge.
For applying cream foundation, the wet application style of the sponge helps thin out the product to create a more even distribution and a flawless finish.
Concealer
Concealer can go from good to bad in a flash if you don’t apply it properly. Attempting to color-correct for dark circles can leave you with raccoon eyes if you use too much. Select the wrong shade and you could end up drawing more attention to a blemish instead of covering it.
A makeup sponge can help you smoothe, blend, and blur products to help keep your skin looking natural and even-toned.
How To Use a Makeup Sponge — Tips For Beginners
The best property of makeup sponges is that they’re incredibly easy to use. Unlike using your fingertips or a brush, a blending sponge is virtually foolproof. Part of the ease of use is the wet application technique, which helps keep product fluid while you apply it. This allows the product to glide over your face and helps you adjust it easily before it dries and sets.
For Primer
Our primer contains plant-based ingredients that lock moisture inside your skin and create the perfect, grippy surface for your foundation. Your fingers work well to apply primer, but if you are more comfortable with a sponge, or would like to practice using a sponge with a color-free product, primer is a great option.
- Begin by wetting your sponge and squeezing out all excess water.
- Pump a small amount of primer onto the back of your hand, or a clean palette.
- Lift the primer from your hand by dabbing the tip of the sponge into the product.
- Apply primer all over your face, in a gentle, sweeping, upward motion, making sure to blend evenly around the nose, jawline, and hairline.
Once your primer has completely dried, you’re ready to apply foundation.
Foundation
Even a makeup sponge can’t make up for a bad foundation. The ingredients in your foundation matter, just as much as finding the perfect shade.
RMS Beauty “Un” Cover-Up Cream Foundation contains living, skin-nourishing ingredients like coconut oil, buriti oil, and jojoba oil. You’ll get color correction, hydration, and skin-restorative properties every time you use it.
To apply our foundation with our best-selling beauty sponge, follow these easy steps.
- Dampen your sponge and remove excess water.
- Using a clean spatula, remove a little product from the container and place it on the back of your hand.
- Lift the product from the back of your hand onto the tip of the sponge.
- Using a quick “bounce” technique, dab the product into your skin in small, short bursts.
- Focus on the shiny t-zone area, and be sure to cover any areas of redness.
- Apply your foundation with one end of the sponge, and use the other end to buff away any excess product and blur any obvious lines or streaks.
Our founder, Rose-Marie Swift, loves this application method for applying foundation because it creates an almost airbrush-like finish that still looks completely real and natural.
Concealer
To get great results and the coverage you want from concealer, start with a great product. RMS Beauty “Un” Cover-Up Concealer is widely celebrated for its ability to conceal without coving up and making your skin look fake, allowing your natural skin to look radiant and even.
Using a beauty sponge helps you apply concealer like a professional. After wetting your sponge and squeezing away excess water, use these easy application techniques.
For Under Eyes
Gently press concealer into the inside corner of your eye, blending downward toward your nose. This is the area under your eye that is typically the darkest and needs the most correction.
Use the edge of the sponge to blend down and out, but resist pulling or dragging. Instead, bounce the sponge quickly to press the product into the skin and blur noticeable edges.
For Blemishes
Blemishes that are healing may be dry and flaky. For these types of blemishes, use the same bouncing technique you used for under your eyes. This will help the product fill in small cracks and crevices without highlighting dry skin. Blend the edges so they aren’t noticeable.
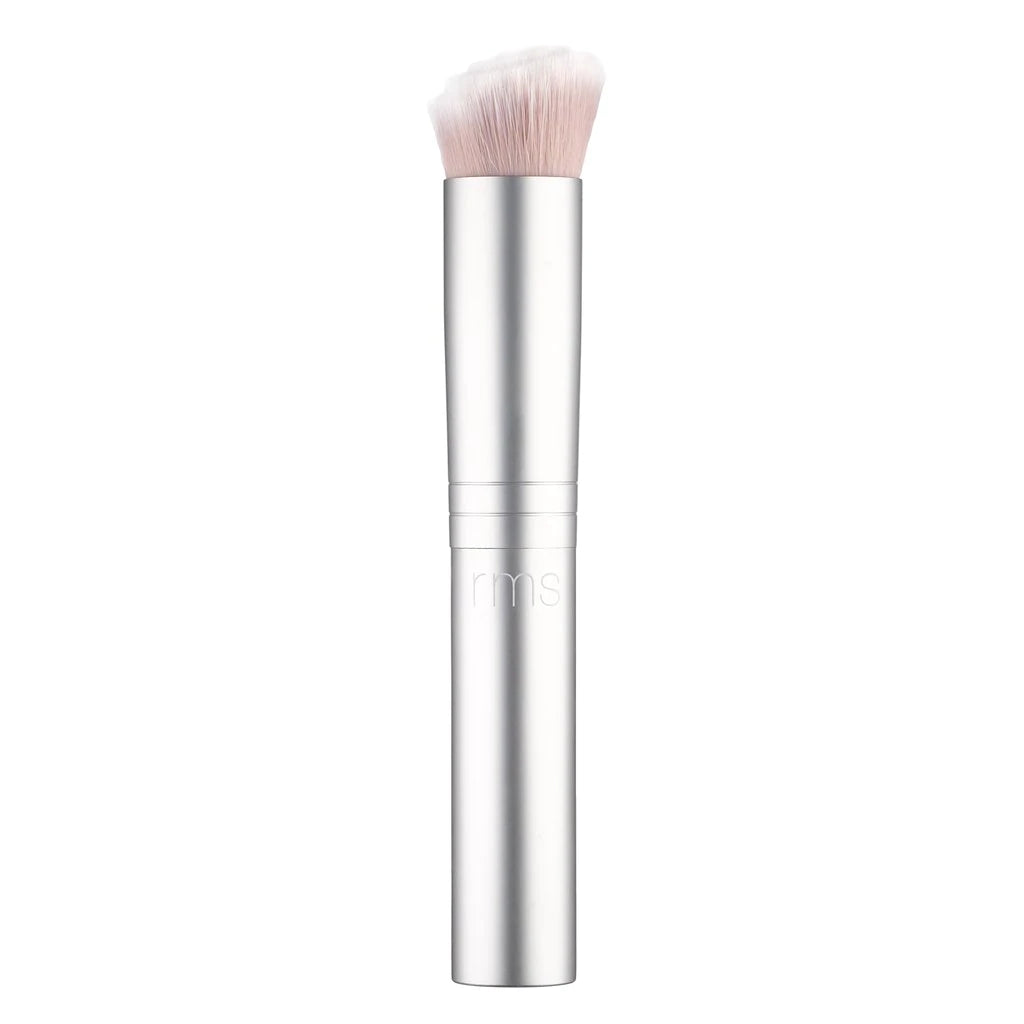
For early stage blemishes that are red and swollen, we recommend switching to a precision-based brush, like RMS Beauty’s Brightening Brush. The brush helps apply more product to the area and keep it in the same spot, which can help you avoid having the concealer slide off a hot, red bump.
For Redness
Areas of redness sometimes require buildable coverage. The makeup sponge is a useful tool that can help you easily cover areas of redness without spackling too much of the product on your skin.
Using the side of your sponge (the wide part) gently sweep the concealer over the area of redness, blurring the edges to create a perfect finish. When one layer has dried, apply a second layer if needed to completely color-correct the area.
Tips and Tricks
These little tidbits are helpful to know when using a beauty sponge, regardless of what product you’re using with it.
- Always remove excess water. The makeup sponge is made to be used damp. This is for two reasons. First, the damp sponge resists absorbing the product you place on it, ensuring it goes directly to your skin and isn’t wasted. Second, it helps keep the product you are using pliable so you can blend and move it on your skin to get it just right.
- Always clean your sponge between uses. Clean your sponge after every use with mild soap and water. There’s no need to use your facial wash to cleanse the sponge. A natural shampoo or a mild dish soap works, too!
- Avoid dipping the sponge into your product. Instead, put a small amount of product onto the back of your hand and dip the sponge in from that position. This will avoid wasting product and will also keep the container of product clean and bacteria-free.
You’ll notice right away that using a makeup sponge is the easy way to apply your products and make them look incredibly natural.
Which Sponge To Use
Not all sponges are great for your skin. Some sponges are made with irritating, toxic materials that aren’t good for your skin or body.
- Avoid Latex. Latex allergies are real, and even if you aren’t allergic, you can be sensitive. Using a product that contains latex can result in skin irritation.
- Shop for cruelty-free. Cruelty-free means neither the product nor the ingredients have been tested on animals. Even though sponges seem “safe,” sometimes animals can be involved in testing. RMS Beauty has a strict cruelty-free policy. None of our products are ever tested on animals.
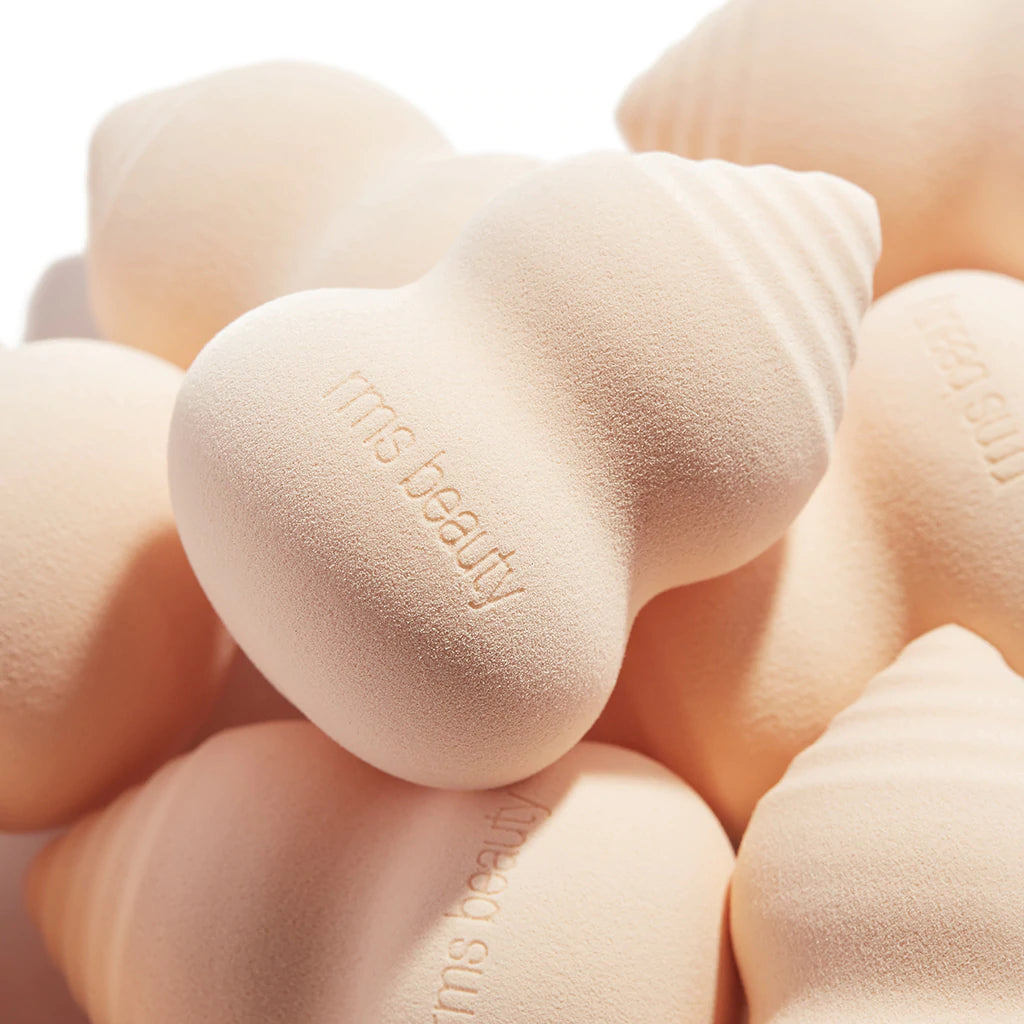
- Shape matters. RMS Beauty’s skin2skin Beauty Sponge has the RMS swirl on the top, which mimics a fingerprint. This helps simulate skin-to-skin application, which creates a more natural, even finish.
- Go for antimicrobial. Recent studies show that beauty sponges can house serious germs, like staph bacteria and E. coli. RMS Beauty’s sponges are made from antimicrobial foam, to help keep germs away.
We don’t like to brag, but our sponges are the cleanest and greenest in the industry. They’re easy to use, and work great with all our products.
Complexion Sponges Made Easy
Makeup sponges are available everywhere, and they’re excellent tools for applying makeup products like foundation, concealer, cream-based products, and even powder.
At RMS Beauty, our focus has always been delivering the cleanest, most effective products, right down to our cruelty-free beauty tools.
Don’t be afraid to try something new. Trust the RMS Skin2Skin Beauty Sponge to help you create flawless looks you’ll love.
Sources:
What Does "Cruelty-Free" Really Mean? | peta2
Face and body sponges: beauty aids or potential microbiological reservoir?|PubMed